
Uber Eats integration with Shipday
Connect your Uber Eats merchant account to Shipday, then enable the stores you want to use.
-
You need a Shipday account, access to the correct Uber Eats merchant account, and permission to authorize the connection for your stores. Each store must be in self-delivery mode; contact Uber Eats Support or your Uber Eats account manager for help enabling it. Create your free Shipday account here (if you don’t have one)
-
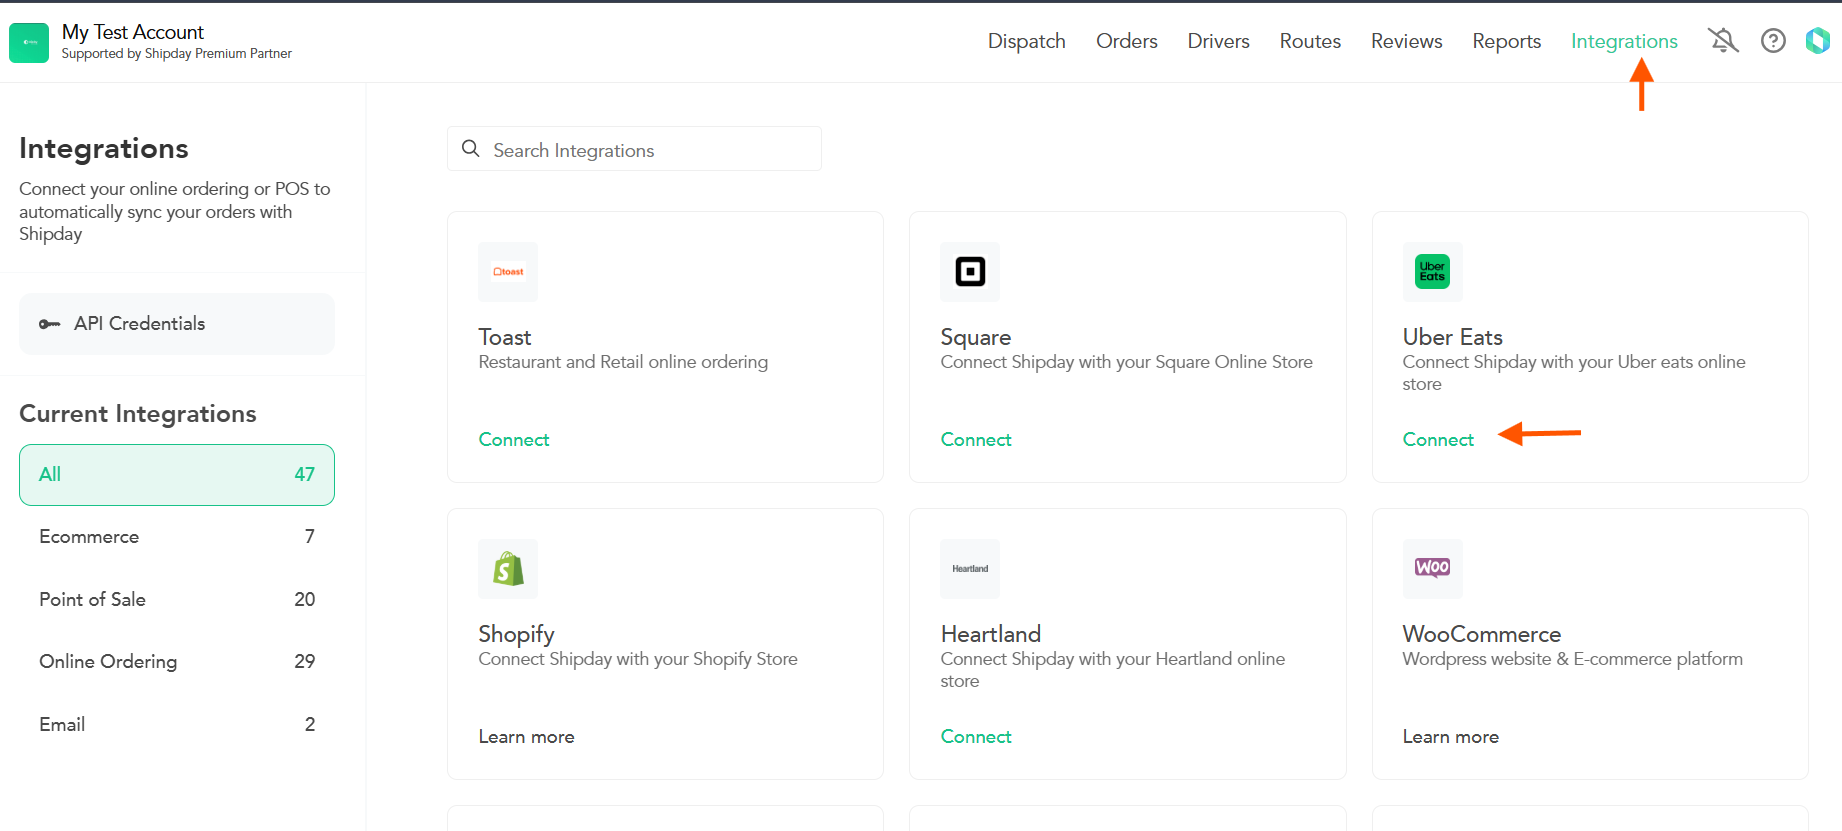
Sign in to the correct Uber Eats merchant account. In the same browser, open dispatch.shipday.com, go to
Integrationsand clickConnecton the Uber Eats card.
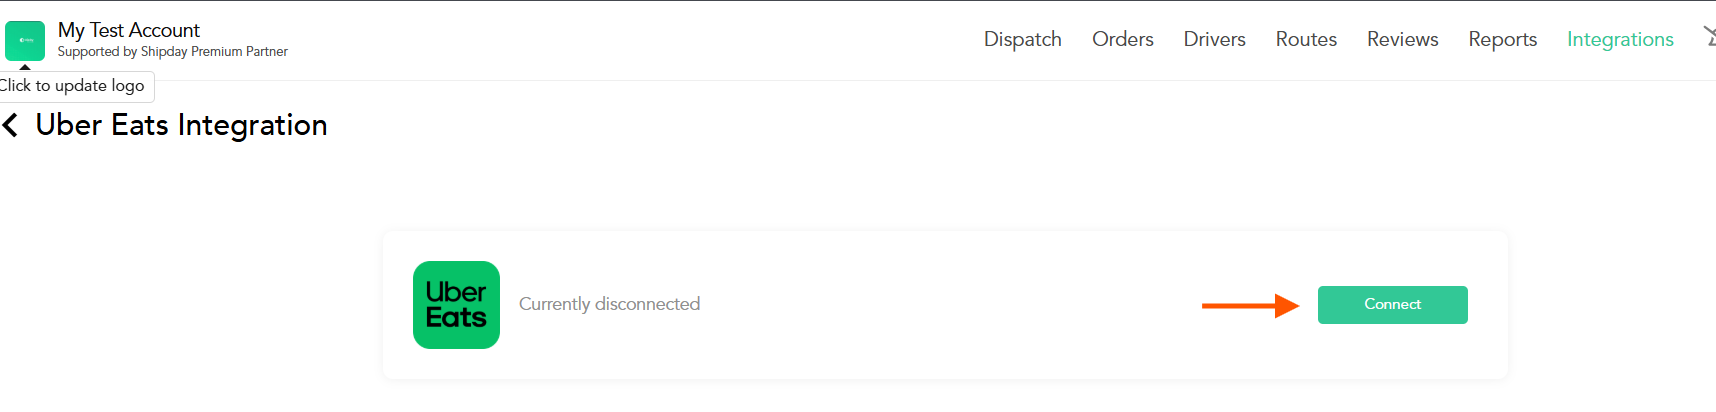
- On the Uber Eats integration page, click
Connect. Follow the redirect to Uber Eats and complete the authorization prompts.
-
Return to Shipday and open
Connected Stores. ClickEnablefor each store you want to activate. This section also lets you disable or remove connections when needed. -
Confirm that each intended store is enabled and is in self-delivery mode in Uber Eats. Place a test order for a connected store and check that it appears in the correct Shipday account.
If you need help, email support@shipday.com with the subject “Uber Eats integration help”. Include your Shipday account email, store name and the step where you need assistance.
Need help? Email support@shipday.com
Ready to get started?
Play around with it first, add your team, pay later.